In some parts of the country, the snow will have been flying for months by the time you read this. For others, you still might be waiting for the first appearance of Old Man Winter.
Regardless, there are some time-tested tips and techniques for making sure your snow removal equipment is ready to get to work when called upon this winter, from engine inspections and attachment evaluations to standard safety checks and snow removal.
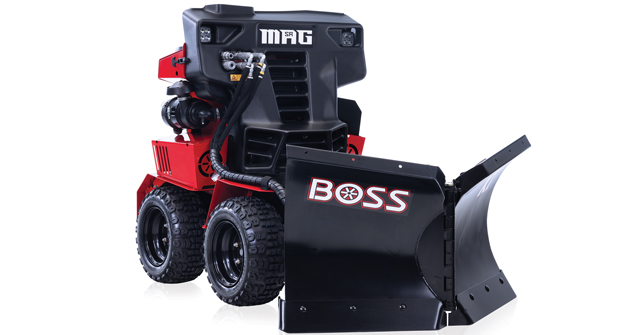
This month, we revive an old Landscape Management favorite — Step by Step — to showcase an in-depth checklist of steps landscape pros should go through before their crews take to the streets this winter. This list was prepared with information provided by the Snow and Ice Management Association and BOSS Snowplow.
Step by Step was a regular monthly feature in LM from October 2014 through December 2018, and beginning this month, will appear again on a quarterly basis.
Step 1: Safety and setup
☑ Park the equipment on a level surface and lower attachment to the ground.
☑ Motion-control levers should be in neutral, the parking brake should be engaged and the key removed before inspection.
☑ The operator platform should be clear of snow and ice, and the operator should verify all guards, covers and safety decals are in place and readable.
Step 2: Fluids
☑ Engine oil and hydraulic fluids should be at the correct levels.
☑ Inspect hydraulic hoses and fittings for leaks, cracks or wear.
☑ The fuel level should be sufficient for the duration of the job.
☑ The fuel cap should be tightly secured and the area around it clean.
Step 3: Battery and electrical systems
☑ The battery should be fully charged and the battery terminals clean and tightly secured to the terminals.
☑ The battery terminals should show no corrosion.
☑ The main fuse and fuse box should be visually inspected.
☑ Lights should be operational, front and rear.
☑ The display screen should power on and show no fault warnings.
Step 4: Tires, wheels and drive
☑ Make sure tire pressure matches manufacturer recommendations.
☑ Tires should be inspected for cuts, damage or excessive wear
☑ Wheel lug nuts should be tightly secured.
☑ Hub cotter pins should be present and secure.
Step 5: Belts and air intake
☑ Inspect belts for cracking, fraying, glazing or burn marks.
☑ The air cleaner cover should be secure.
☑ The intake area should be clear of snow, ice or other debris.
Step 6: Attachments and hydraulics
☑ Attachment should be properly installed with quick pins fully locked.
☑ Hydraulic couplers should be fully seated.
☑ Attachment hoses should be free of leaks or damage.
☑ The attachment should move freely through full range.
Step 7: Final walk-around
☑ Snow should be removed from the machine, controls and attachment.
☑ Ensure visibility from the operator position is clear.
☑ Verify beacon/light visibility.
☑ Confirm no leaks after warm-up.