For an irrigation system to run properly throughout the warm summer months, it’s important that it’s turned on and off correctly at the beginning and end of each season. No one knows this better than Tom Horn, president of All-n-One Outdoor Solutions in Jefferson City, Mo., and a trainer for Rain Bird.
“The importance of a proper turn-on is to make sure there are no leaks, that the coverage is giving proper distribution uniformity and that the controller is set properly,” says Horn, whose $1.5-million company offers 70 percent irrigation services, 20 percent lawn maintenance services and 10 percent lighting services to a 65 percent residential, 35 percent commercial clientele. “The winterization is important to make sure the piping and all other components are not damaged due to freezing water.”
Horn says in the Midwest, irrigation system startups typically begin in mid-March or after the last frost. Shutdowns should be completed no later than mid-to-late October, or by the first of October in northern states, to prevent damage to pumps. Backflow-type systems are more tolerant of freezing temperatures, so shutdowns can take place closer to late November, he adds.
For Horn, knowledge and experience are crucial for contractors performing irrigation system startups and shutdowns. He recommends all technicians—especially those new to the field—receive best practices training before each season begins.
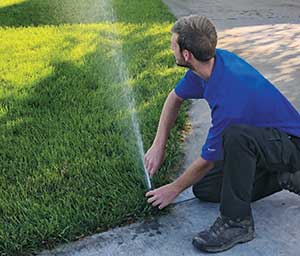
“I encourage my service techs to be patient and to test and touch each head,” he says. “If contractors physically go to each head, observe it and make sure it’s working properly, that ensures the customer is getting a quality activation startup and shutdown.”
Horn recommends the following steps for proper irrigation system startups and shutdowns.
System startups
1. Turn on and test the backflow preventer.
2. Verify that the mainline pressurizes and stabilizes. Flush the mainline for five minutes to clear any debris that may have accumulated while the system was shut down.
3. Turn on the irrigation controller and do a test of each active irrigation zone. Run each zone for at least three minutes to allow rotors time to do a full rotation. Observe the pattern each irrigation head is covering and verify that the nozzle is not obstructed or damaged. Also look for leaking around the wiper seal of the stem.
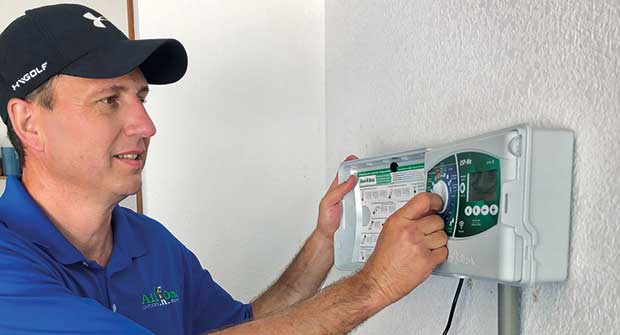
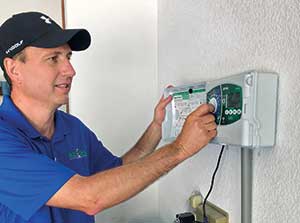
4. Check the controller settings and schedule to ensure it’s set correctly for the time of year. Check that any sensors (rain, soil or flow) are working properly.
5. Look for any landscape plants that may be blocking the pattern of the irrigation heads due to growth.
6. Consider the age of the system, how long it has been installed and the efficiency of its components. Make recommendations on what the cost benefits would be if the components were upgraded to higher-efficiency versions.
7. If working with a pump system that uses a centrifugal pump for the water supply, prime and test the pump systems. Flush the lines to remove any algae buildup.
System shutdowns
1. Turn off the water supply to the irrigation system.
2. Turn on a zone to open the control valve to allow the water to be purged.
3. Connect the air compressor line to the mainline, usually at the backflow preventer or pump. Pressure at the air compressor should be regulated around 60-70 psi. Do not blow high pressure air through the backflow preventer; it can damage the internal check valves of the device.
4. Observe the water coming out of the irrigation heads until a slight mist or fogging occurs, and then move to the next station or zone. Be aware that
the compressed air is extremely hot and can cause damage to valves if continued for long periods of time.
5. After all the lines are cleared, turn off the air.
6. Turn off the controller.
7. If the controller is exposed to cold weather during the off-season, leave it plugged in to allow the LCD display to maintain current through it. The LCD display may be damaged if the controller is unplugged.
8. If a pump is being used, make sure the pump is drained and the suction line and foot valve are removed. Disconnect power to the pump.
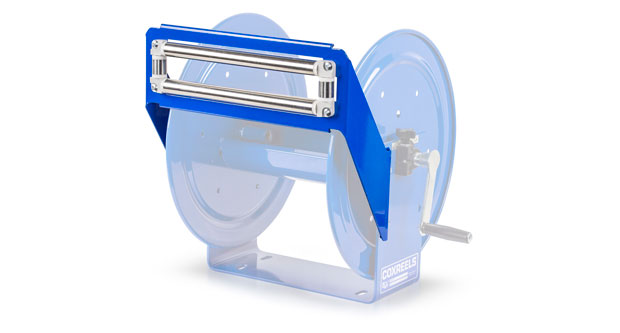
Photos: All-n-One Outdoor Solutions